Skip to content
Star...

7-inch JC1060P470

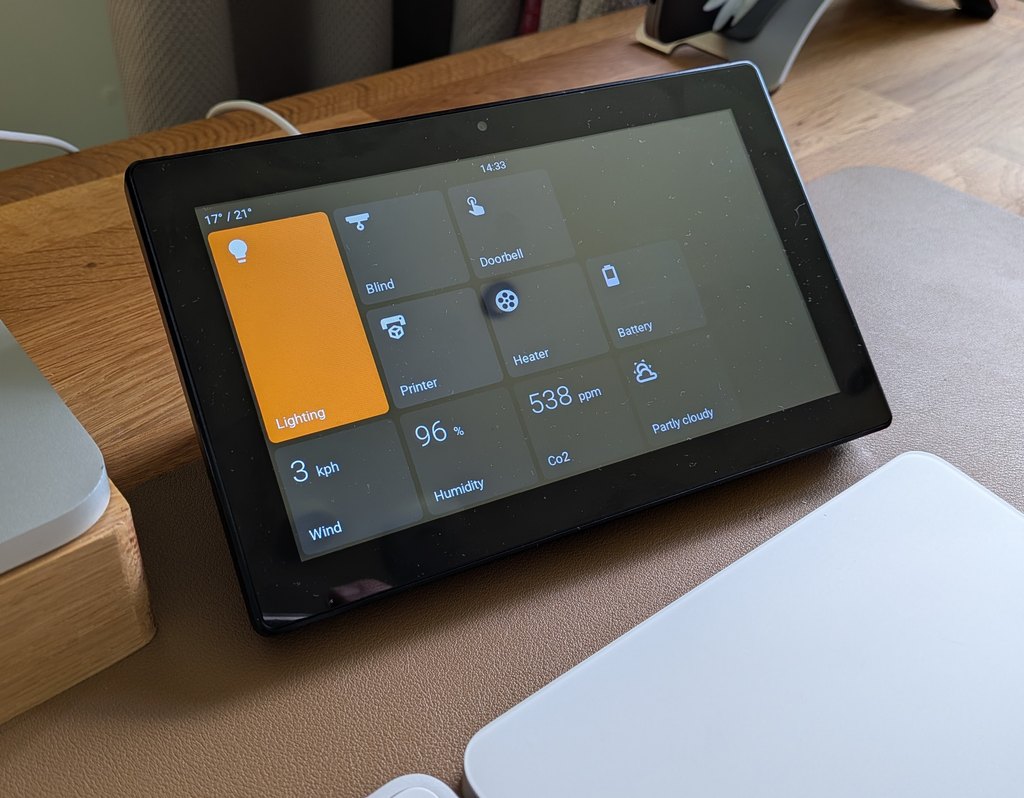
EspControl on the 7-inch JC1060P470: home screen with temperature, clock, and control tiles

The Guition JC1060P470 is a 7-inch landscape touchscreen powered by an ESP32-P4 processor. It has a 1024×600 display and room for 15 cards on the home screen.

Guition ships two 7-inch panels under the same JC1060P470 name. They look identical from the front, but need different firmware.

Check the version before you flash

  • V2: the case has a V2 marking. Use JC1060P470 new panel firmware.
  • V1 / original: the case has no version marking at all. It does not say V1. Use JC1060P470 original panel firmware.

If the case does not settle it, disconnect the display from power and unscrew the back. Find the four-digit date code printed on the screen's circuit board (for example, 2622):

  • 2622 or higher: V2 / new panel
  • Earlier than 2622: V1 / original panel

The wrong profile leaves a white screen with a vertical noise band. Reflash the other profile over USB to recover.

Card Grid

Both 7-inch revisions use the same grid size and card layout.
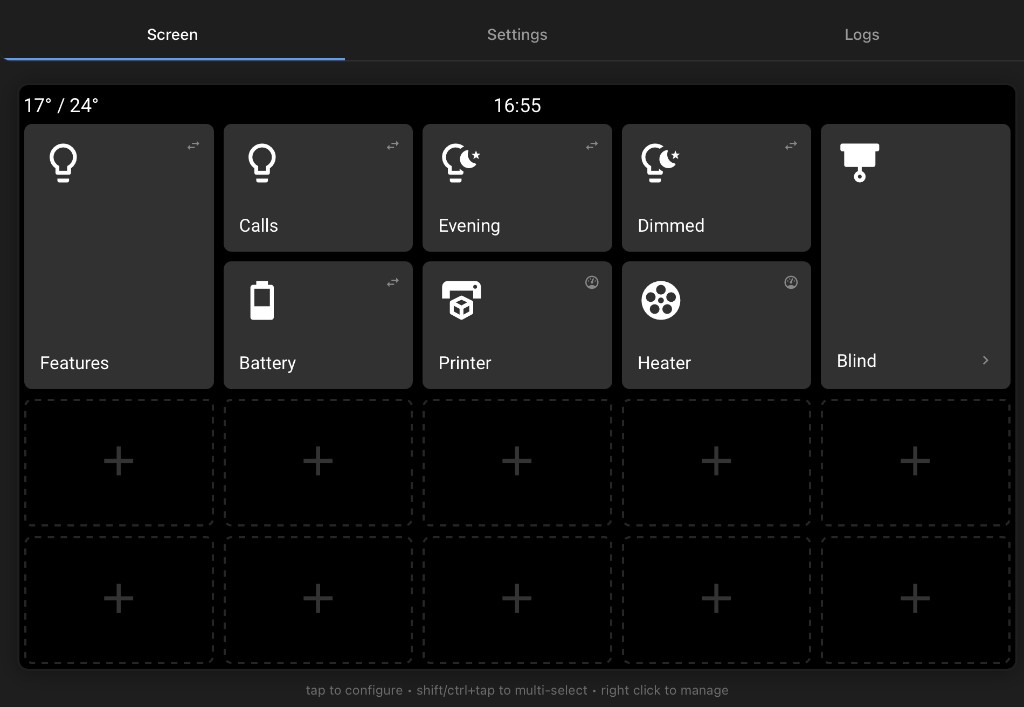
JC1060P470 card grid showing 15 configurable tiles

The home screen uses a 3-row x 5-column grid, giving you 15 card slots. Any home-screen card can be turned into a Subpage folder containing up to 14 more cards.

Flexible card sizes are supported: Single, Tall, Wide, and Large.

Install

Connect the display to your computer with a USB-C data cable plugged into the port shown below, choose the button that matches your panel version, then install.

USB-C flashing port on the back of the JC1060P470

V1 / original panel: unmarked case; board date earlier than 2622

Preparing installer...

V2 / new panel: case marked V2; board date 2622 or newer

Preparing installer...
Having unreliable Wifi?

This P4 panel uses a separate ESP32-C6 Wifi processor. If it repeatedly disconnects, disappears from Home Assistant, or cannot finish initial setup, use the USB C6 recovery installer.

For a full walkthrough including WiFi setup and Home Assistant pairing, see the Install guide.

ESPHome Manual Setup

If you use ESPHome and prefer to compile firmware yourself, use the package file that matches your panel version.

V1 / original panel: unmarked case; board date earlier than 2622

yaml
substitutions:
  name: "office-screen"
  friendly_name: "Office Screen"

wifi:
  ssid: !secret wifi_ssid
  password: !secret wifi_password

packages:
  setup:
    url: https://github.com/jtenniswood/espcontrol/
    file: devices/guition-esp32-p4-jc1060p470/packages.yaml
    refresh: 1sec

V2 / new panel: case marked V2; board date 2622 or newer

yaml
substitutions:
  name: "office-screen"
  friendly_name: "Office Screen"

wifi:
  ssid: !secret wifi_ssid
  password: !secret wifi_password

packages:
  setup:
    url: https://github.com/jtenniswood/espcontrol/
    file: devices/guition-esp32-p4-jc1060p470-v2/packages.yaml
    refresh: 1sec

For the Ethernet model, use the advanced manual setup option instead. The package path below is for V1 / the original panel; V2 boards must swap in the -v2 path shown in the comment, or the display comes up white with a vertical noise band.

yaml
substitutions:
  name: "office-screen"
  friendly_name: "Office Screen"
  network_transport: ethernet
  disable_updates: "true"

packages:
  setup:
    url: https://github.com/jtenniswood/espcontrol/
    # V2 / new panel (case marked V2 or board date code 2622+):
    #   file: devices/guition-esp32-p4-jc1060p470-v2/packages.yaml
    file: devices/guition-esp32-p4-jc1060p470/packages.yaml
    refresh: 1sec

This Ethernet option is for advanced manual installs only. It builds an Ethernet-only firmware: WiFi, captive portal, the WiFi setup hotspot, and Bluetooth proxy are not included, and the ESP32-C6 hosted WiFi/Bluetooth co-processor is kept off. The Ethernet build also uses a higher backlight PWM frequency on this panel, which avoids the shimmer seen during hardware testing with wired networking enabled. The disable_updates: "true" substitution removes EspControl's GitHub firmware update checker and update controls, while leaving ESPHome OTA available for manual installs.

Use USB when switching a display between the WiFi and Ethernet firmware variants. OTA updates can fail during that change because the network transport changes.

For the full manual setup notes, see Manual Setup.

Where to Buy