
4.3-inch JC4880P443 V3
Use this firmware for SKU 10150002-V3 with ESP32-P4 v3.x production silicon, including the reported v3.2 revision. For a chip below v3.0, use the original JC4880P443 guide. If unsure, run esptool --port YOUR_SERIAL_PORT chip-id before choosing firmware.
The V3 uses the same 480 × 800 portrait display, GT911 touchscreen, and 6-card grid as the original panel. See its card grid for layout examples. The new firmware follows the manufacturer's P4_V3X_DEMO display settings and targets the production chip. Physical device validation is still pending; follow issue #2070 for testing feedback.
Install
Connect a USB-C data cable to the P4 programming port shown below.
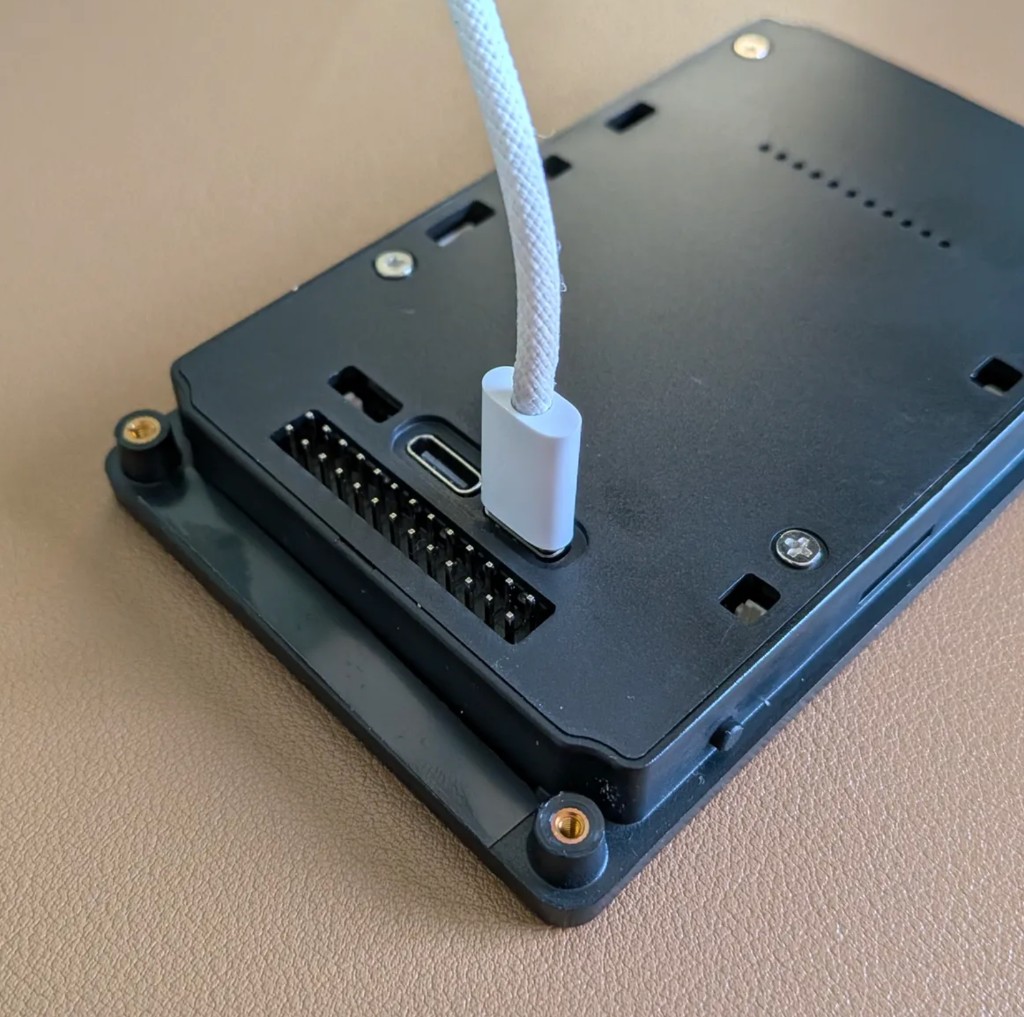
This P4 panel uses a separate ESP32-C6 Wifi processor. If it repeatedly disconnects, disappears from Home Assistant, or cannot finish initial setup, use the USB C6 recovery installer.
If a previous incompatible flash left the panel dark with no serial port, unplug it, hold BOOT while reconnecting the programming cable, then release BOOT when the port appears. Flash the V3 factory image and power-cycle after the write completes. For a manual USB install, download guition-esp32-p4-jc4880p443-v3.factory.bin from the release assets once available, then run:
esptool --chip esp32p4 --port YOUR_SERIAL_PORT write-flash 0x0 guition-esp32-p4-jc4880p443-v3.factory.binFor Wi-Fi setup and Home Assistant pairing, see the Install guide.
ESPHome Manual Setup
substitutions:
  name: "hallway-screen"
  friendly_name: "Hallway Screen"

wifi:
  ssid: !secret wifi_ssid
  password: !secret wifi_password

packages:
  setup:
    url: https://github.com/jtenniswood/espcontrol/
    file: devices/guition-esp32-p4-jc4880p443-v3/packages.yaml
    refresh: 1sec
After flashing, check boot, Wi-Fi setup, Home Assistant pairing, touch alignment in all four rotations, brightness, and a firmware update before relying on the panel.